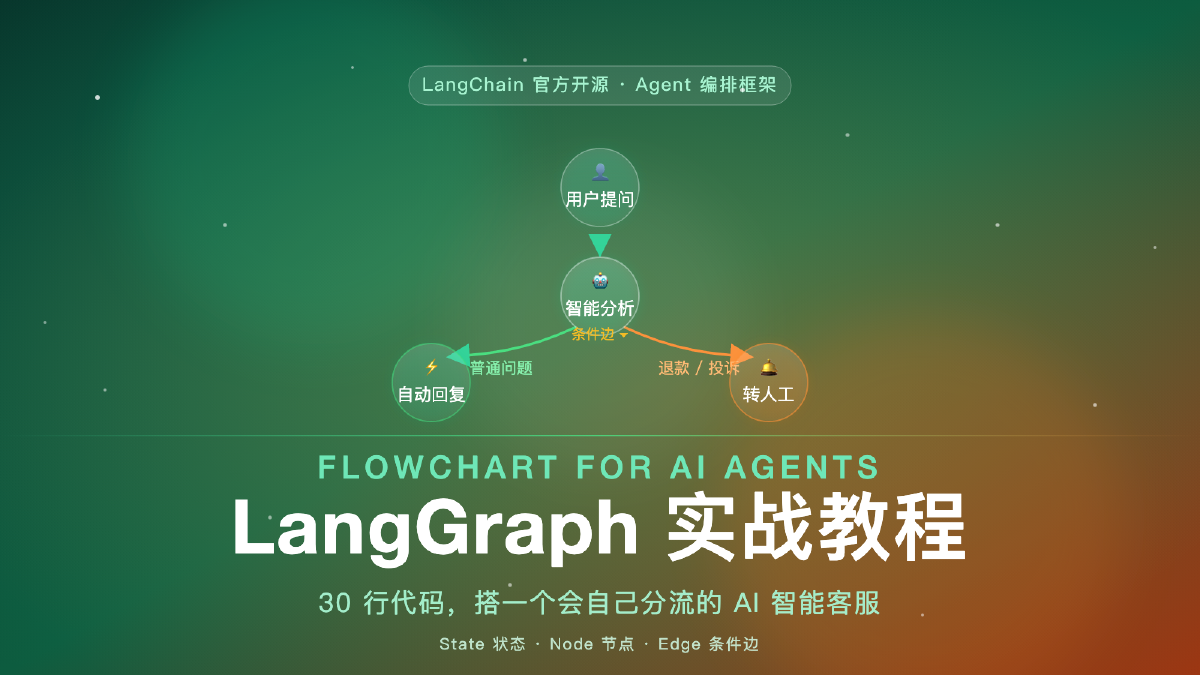
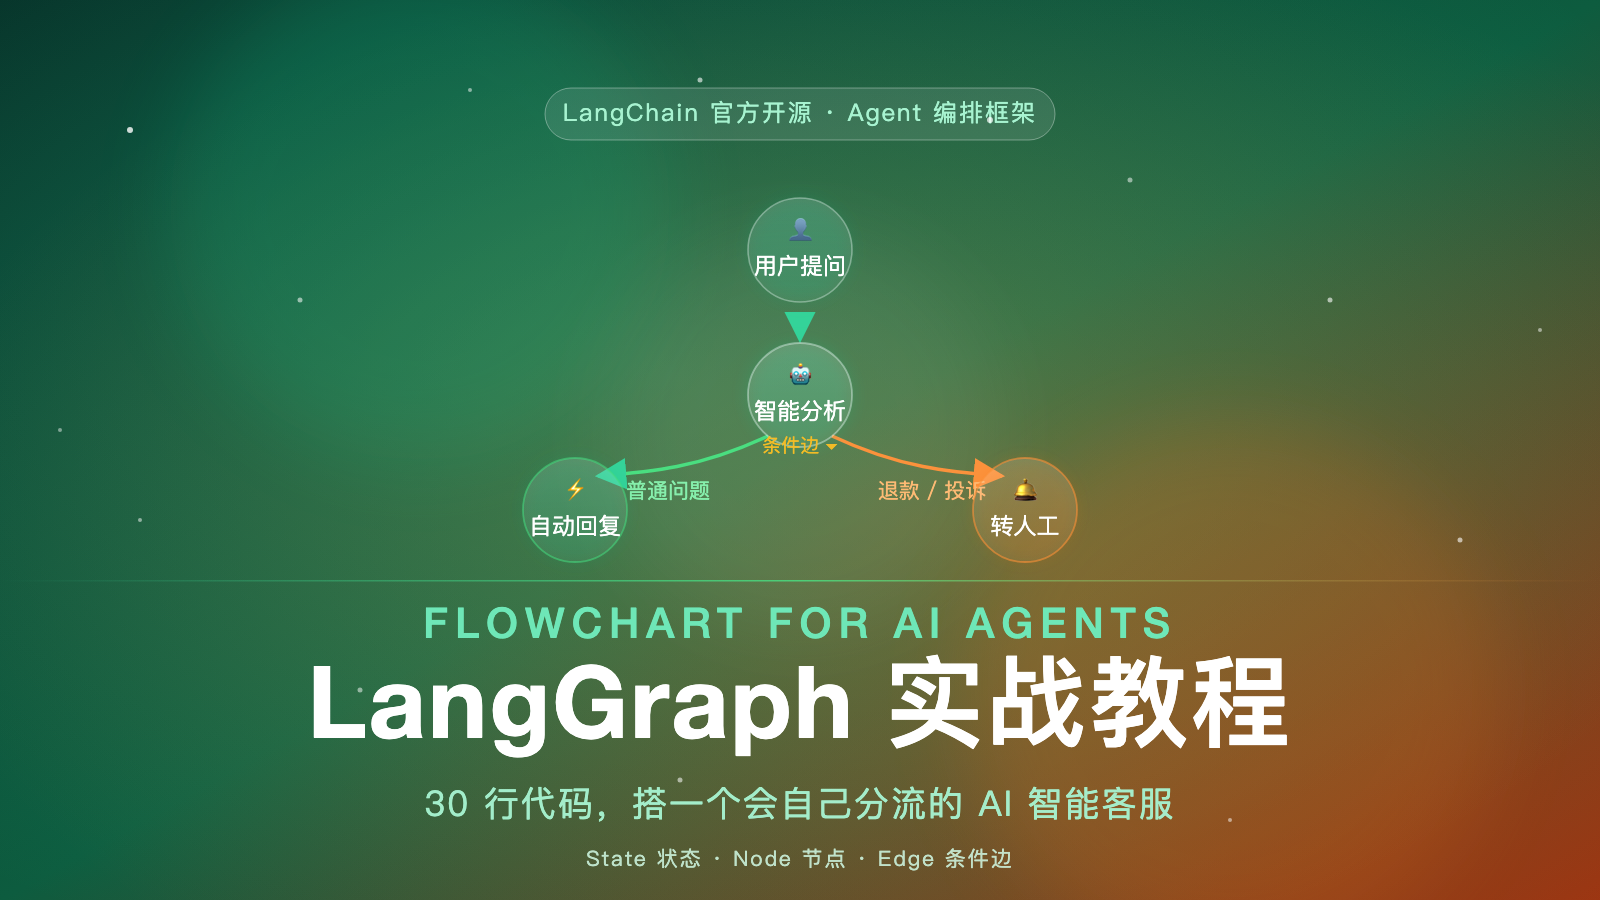
In the previous article we built a simple AI Q&A app with LangChain in about 20 lines. It worked great — as long as the flow was a straight line.
But real business is rarely a straight line.
Take an AI customer support bot:
A user asks “how do I check my order status?” → the bot should just reply automatically.
A user says “I want a refund” or “I’m filing a complaint” → the bot should stop, and escalate to a human.
Same entry point, but halfway through the flow needs to “look at the situation and turn.” That kind of decide-the-next-step-based-on-state logic is awkward in LangChain — and it’s exactly what another framework was built for: LangGraph.
Today we’ll build a customer support bot that routes itself — in 30 lines of code. No API key required. Install it, and it runs.
One sentence: LangGraph is a low-level orchestration framework from the LangChain team, purpose-built for stateful AI agents that can loop and branch.
If you’ve used LangChain, feel the difference:
LangChain is a conveyor belt. Raw material goes in, passes through a fixed set of stations, and comes out the other end. Great for linear flows.
LangGraph is a subway map. Lots of stations, lines that fork and loop. You board at Station A — which line you take, and whether you get off, is decided by the signals along the way.
In technical terms: LangGraph defines your AI workflow as a directed graph. Nodes are “functions that do work,” edges say “where to go next,” and the graph itself “looks at the state and makes a decision.” That’s the skeleton a real agent needs.
Before we code, meet the four words that make up LangGraph:
Concept
Plain-English meaning
Analogy
State
One shared piece of data for the whole graph
The waiter’s order ticket
Node
A function that does work and updates state
A chef at the wok
Edge
A line between nodes that decides execution order
The route from kitchen to table
Conditional Edge
A special route: look at the state, pick a path
Deciding which window to go to — hotpot or noodles
Remember the restaurant: the order ticket (State) passes between the chefs (Nodes) along the routes (Edges); at a fork, a glance at the ticket (Conditional Edge) decides which window to head to.
Hands-on: build a self-routing support bot in 30 lines
#
We’re building a bot that routes automatically:
Input: one sentence from the user;
Analyze node: is this a normal question, or a high-risk refund/complaint?
Conditional edge: normal → auto-reply; high-risk → escalate to human;
Output: the final reply.
Step 1 — Install (Python 3.10+):
pip install -U langgraph
Step 2 — Write the code:
fromtypingimportTypedDictfromlanggraph.graphimportStateGraph,START,END# ① State: the data shared across the whole graphclassState(TypedDict):question:str# the user's questionroute:str# routing result: "normal" / "escalate"answer:str# the final reply# ② Nodes = functions that do work, returning field updatesdefanalyze(state:State)->dict:if"refund"instate["question"]or"complaint"instate["question"]:return{"route":"escalate"}# high risk, hand to a humanreturn{"route":"normal"}# normal, auto-replydefauto_reply(state:State)->dict:return{"answer":"[Auto reply] Got it: "+state["question"]+". Our team is on it."}defhuman_handling(state:State)->dict:return{"answer":"[Escalated] Your issue is now with a support specialist. We'll contact you within 24 hours."}# ③ Conditional edge: look at State, decide the next nodedefdecide_next(state:State)->str:return"auto_reply"ifstate["route"]=="normal"else"human_handling"# ④ Assemble the graph: nodes + edgesbuilder=StateGraph(State)builder.add_node("analyze",analyze)builder.add_node("auto_reply",auto_reply)builder.add_node("human_handling",human_handling)builder.add_edge(START,"analyze")# start -> analyzebuilder.add_conditional_edges("analyze",decide_next)# route after analyzebuilder.add_edge("auto_reply",END)# auto-reply -> endbuilder.add_edge("human_handling",END)# escalate -> endapp=builder.compile()# ⑤ Run it!print(app.invoke({"question":"How do I check my order status?"}))print(app.invoke({"question":"I want a refund!"}))
Step 3 — See the output:
{'question': 'How do I check my order status?', 'route': 'normal', 'answer': '[Auto reply] Got it: How do I check my order status?. Our team is on it.'}
{'question': 'I want a refund!', 'route': 'escalate', 'answer': '[Escalated] Your issue is now with a support specialist. We'll contact you within 24 hours.'}
The same program, the same code structure — different input takes two completely different paths. That’s “routing itself.”
Dissecting the graph: the conditional edge is the soul
#
Here’s the code translated into a picture:
user question → [analyze node] → conditional edge
                                        ├── normal   → [auto_reply]       → end
                                        └── high-risk → [human handling]  → end
It means: when the “analyze” node finishes, don’t just keep walking — let decide_next peek at the current state and pick the next stop.
That one move upgrades an AI app from “follows a fixed script” to “decides as it walks.” Complex agents are smart precisely because of this skeleton of conditional branches + loops.
Going further: swap the fake judge for a real model
#
In the example above, routing is done with an if/else keyword match — deliberately no API, so you can run it for free. In a real project, just replace that node with a single LLM call:
defanalyze(state:State)->dict:prompt=f"The user says: {state['question']}. Is this a normal inquiry or a complaint? Answer only 'normal' or 'escalate'."result=llm.invoke(prompt)# call the LLMreturn{"route":result.content.strip()}
That’s it. A node can hold any logic — call a model, query a database, fire an HTTP request. LangGraph doesn’t care what’s inside a node; it just orchestrates the nodes elegantly.
Beyond that, LangGraph also supports:
🧠 Memory (checkpoints) — remembers context across turns, so a support bot doesn’t go “amnesiac” after ten messages.
🔁 Loops — agents retry and self-correct; if the job isn’t done, try again.
🧑💼 Human-in-the-loop — sensitive operations pause for a real person to approve before continuing.
🤝 Multi-agent collaboration — multiple agents work together like a small, well-divided team.
Every one of these is a high-frequency production need.
LangGraph = an orchestration framework that draws your AI workflow as a directed graph. LangChain is a conveyor belt; LangGraph is a subway map.
Four core concepts: State (shared data), Node (a working function), Edge (a connection), Conditional Edge (looks at state, picks a direction).
30 lines build a support bot that routes itself — no API key required, install and run.
Going further: real LLM routing, memory, loops, human-in-the-loop, multi-agent.
Don’t be afraid of the phrase “orchestration framework.” You already get the idea — break the task into nodes, and let the flow think for itself. That’s what future AI apps look like.
To go deeper, the official docs are the best place to start: